How I Built a DIY Retro Arcade Cabinet (Garage Build)
DIY Garage Build Intro
This is a DIY retro arcade cabinet build I did in my garage with an old PC and a lot of trial-and-error. This was never meant to be a perfect museum replica. It was meant to be practical, fun, and always ready to play when I needed a break.
Quick Summary
- Built a RetroArch/MAME-focused cabinet from wood, spare parts, and garage tools.
- Used an old PC and a 4:3 Dell monitor to keep the feel right for older games.
- Main pain points were planning, cabinet cuts, and control panel decisions.
- Main win was getting a reliable always-on arcade atmosphere in the garage.
Core Parts
- Old PC hardware for emulation
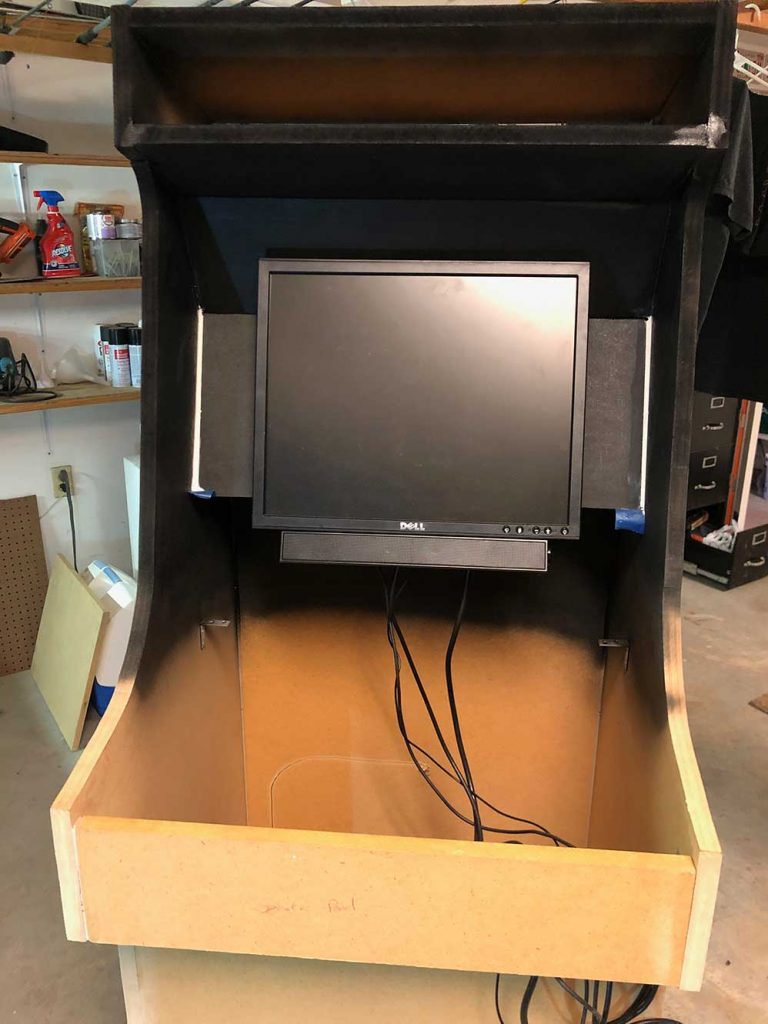
- Dell 19-inch 4:3 monitor with built-in USB hub
- Wood cabinet shell based on classic cabinet plans
- Monoprice monitor mount
- RetroArch + MAME setup for the software side
Build Overview
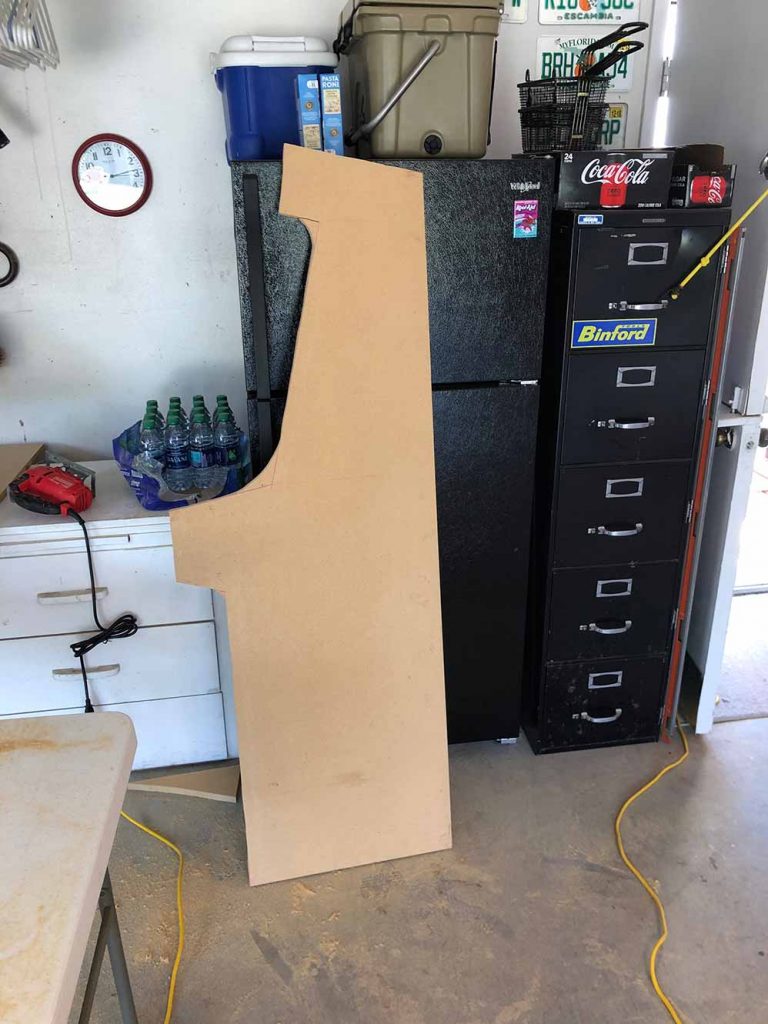
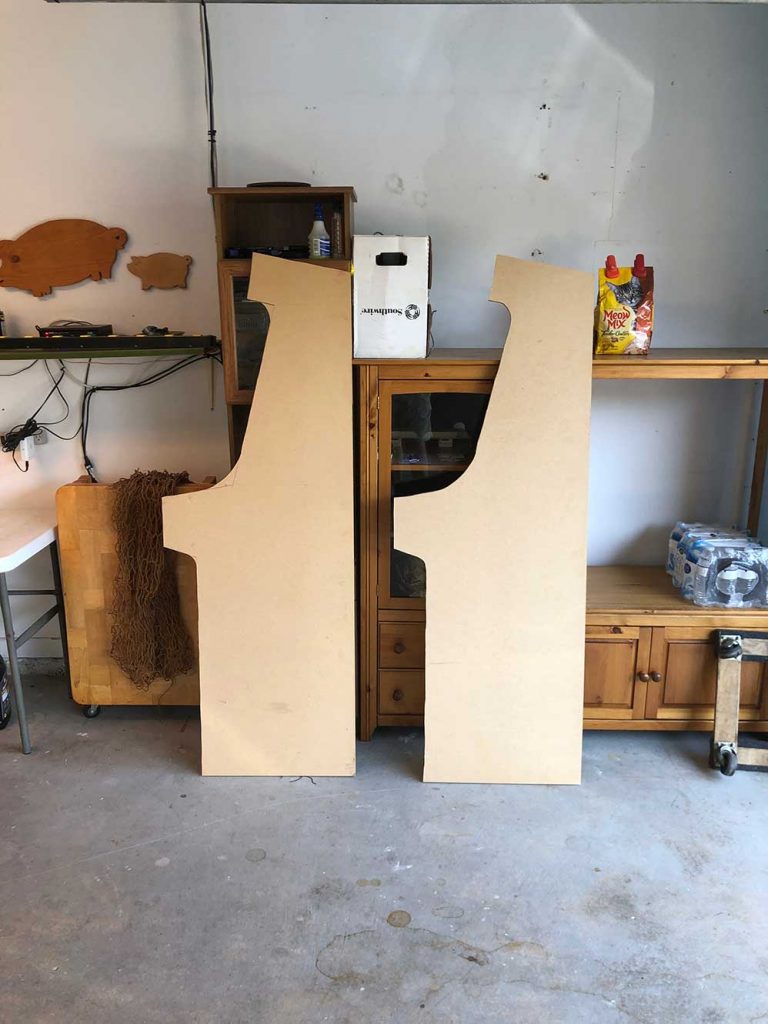
- Start with cabinet plan references, then cut and assemble the shell.
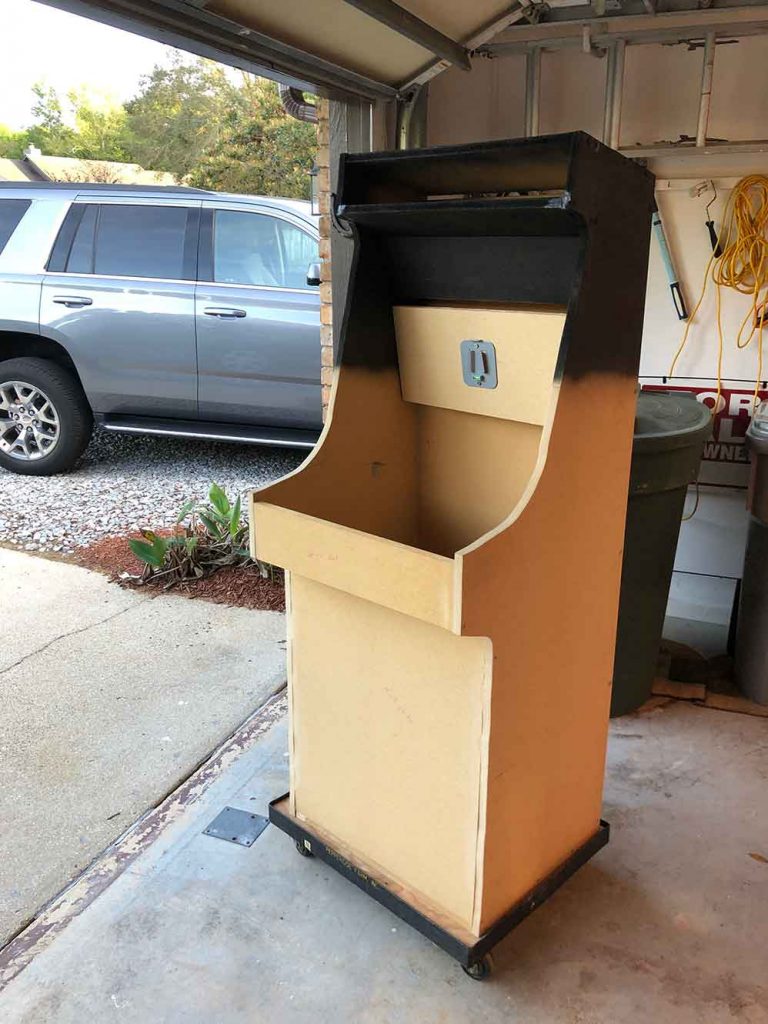
- Mount display and test fit hardware before final paint.
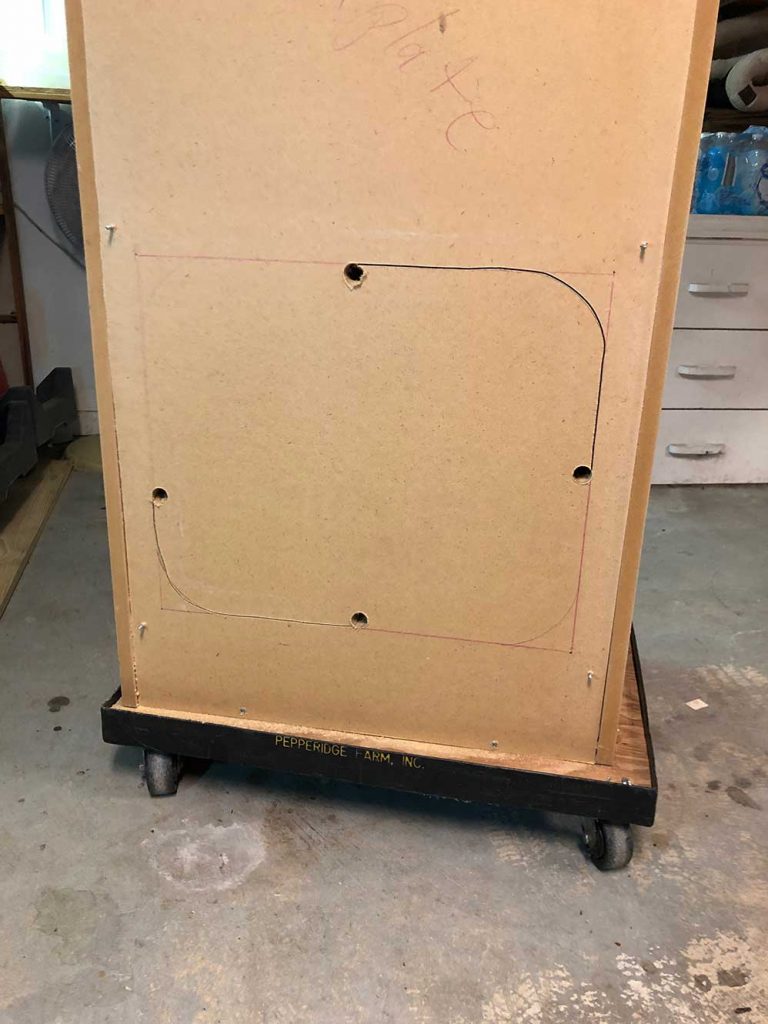
- Set up access and airflow so the PC can survive garage duty.
- Load software and test attract mode/audio/video stability.
- Finish controls and cosmetics once the core cabinet is proven.
What I'd Do Differently
I would lock the control-panel plan earlier and avoid overthinking artwork until the physical layout is finalized. I would also pre-plan cable routing and service access sooner so maintenance is easier later.
Making a RetroArch-based cabinet : A Pictorial Journey
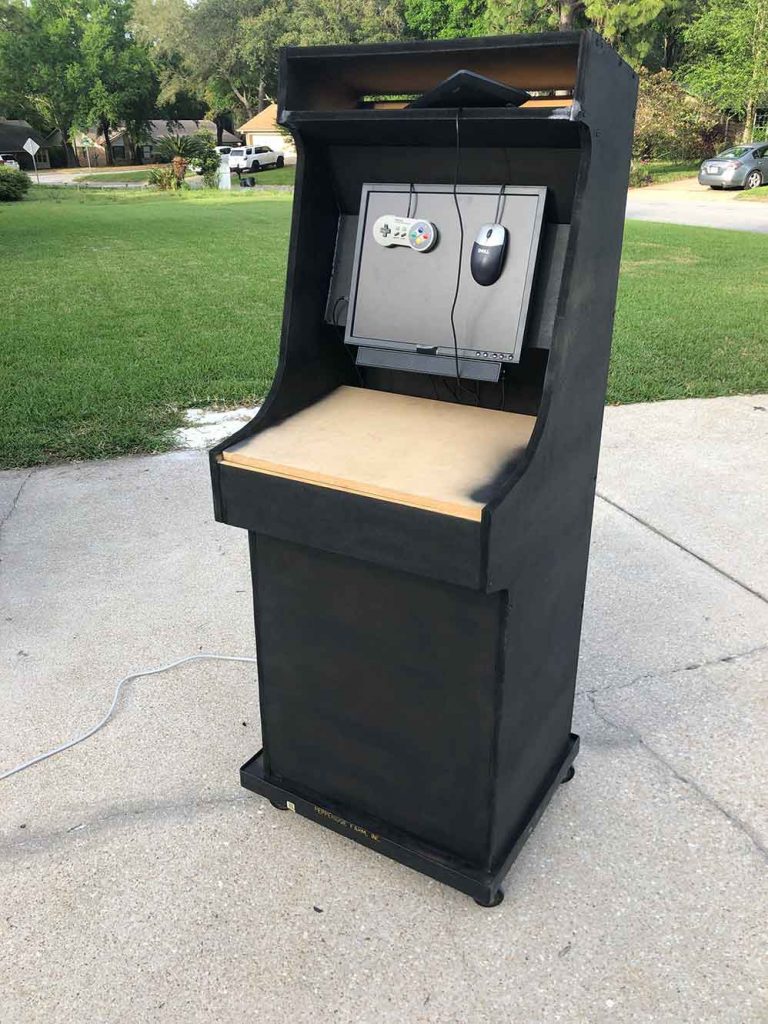
Modern gaming is rather… boring. I just don’t like them, the graphics are great but it leaves a lot to be desired. But thats a topic for another post. I finally got off my ass and put together a retro-style cabinet to mimic the cabinets of the 80s and 90s. Now just to be clear this isnt a flawless replica of any particular cab, just an old PC in a cabinet for the garage. It really encases the atmosphere and when I’m bored I can just walk up to it and play a few rounds.
I’ve loaded games from all the old systems but I find what works best for the garage always-on use case is to use the MAME emulator for the old arcade games. The “attract mode” of the games, the demo before you insert any coins, has the sounds and graphics that make enhance the atmosphere of the room.
Sadly I haven’t to this day (about a year after building the cab) finished the joystick control panel. I have all the parts and that will follow in another post. A lot of that has to do with theming. Im not sure if I’m going to get vinyl artwork and all that jazz or not either. Needless to say its a constant work in progress. I have learned a lot and if I decide to make more of these I have a better idea of what to do and what not to do. Oh the time has come and the arcade control panel build and wiring guide is complete! I videoed the whole thing so if you are unsure of any of the steps take a watch and hopefully I can clear that up for you. I did get some sweet vinyl for it too. When you’re through with this post I recommend you take a look.
Let’s take a look, shall we…
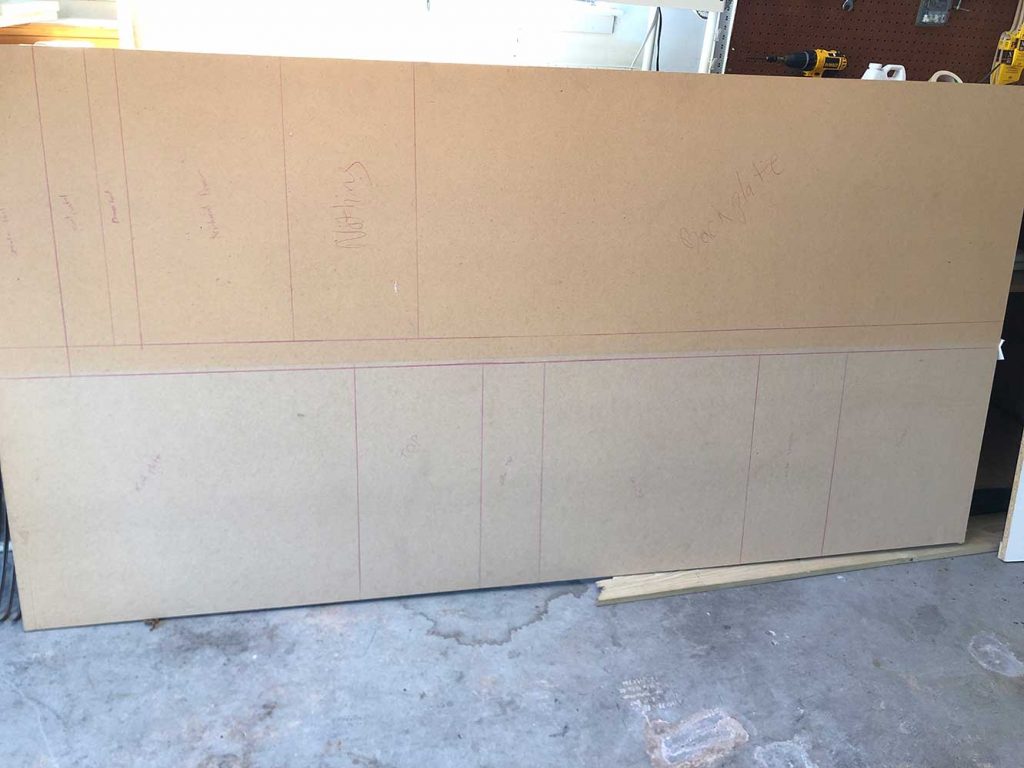
I started off with studying plans from http://www.koenigs.dk/mame/eng/
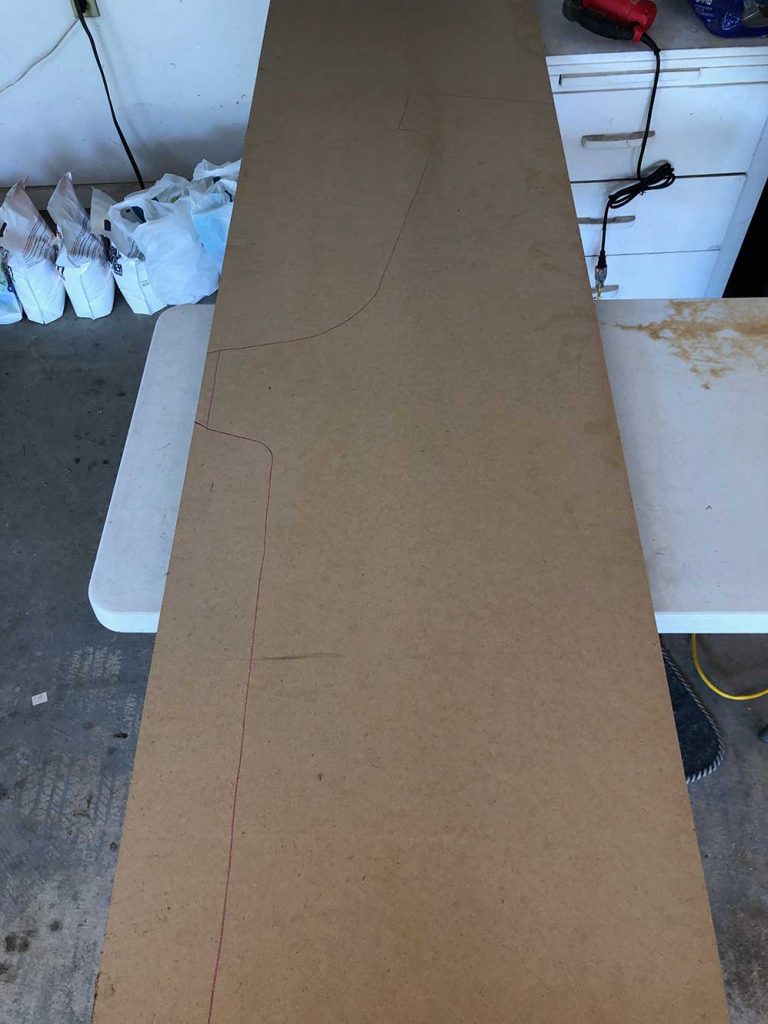
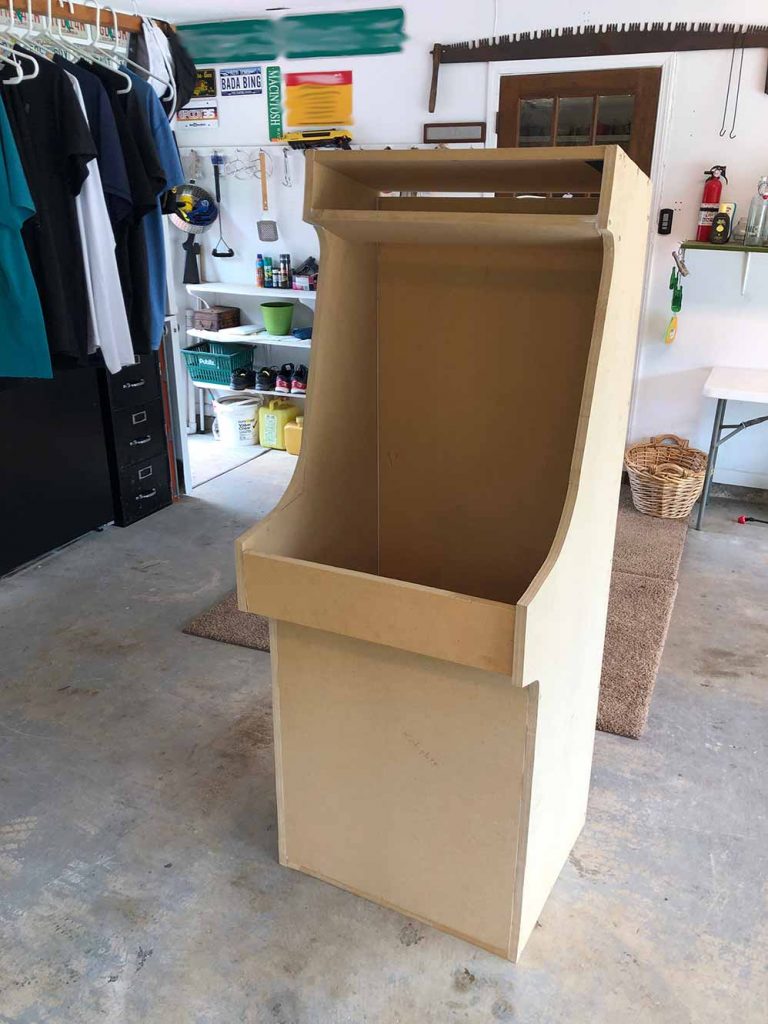
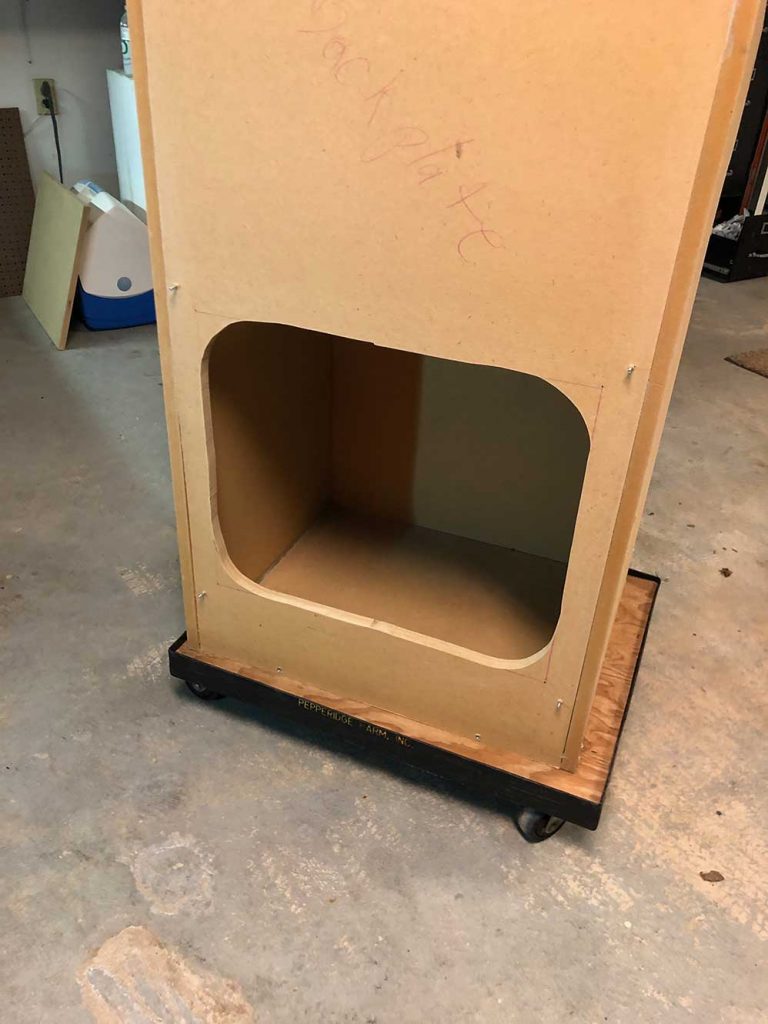
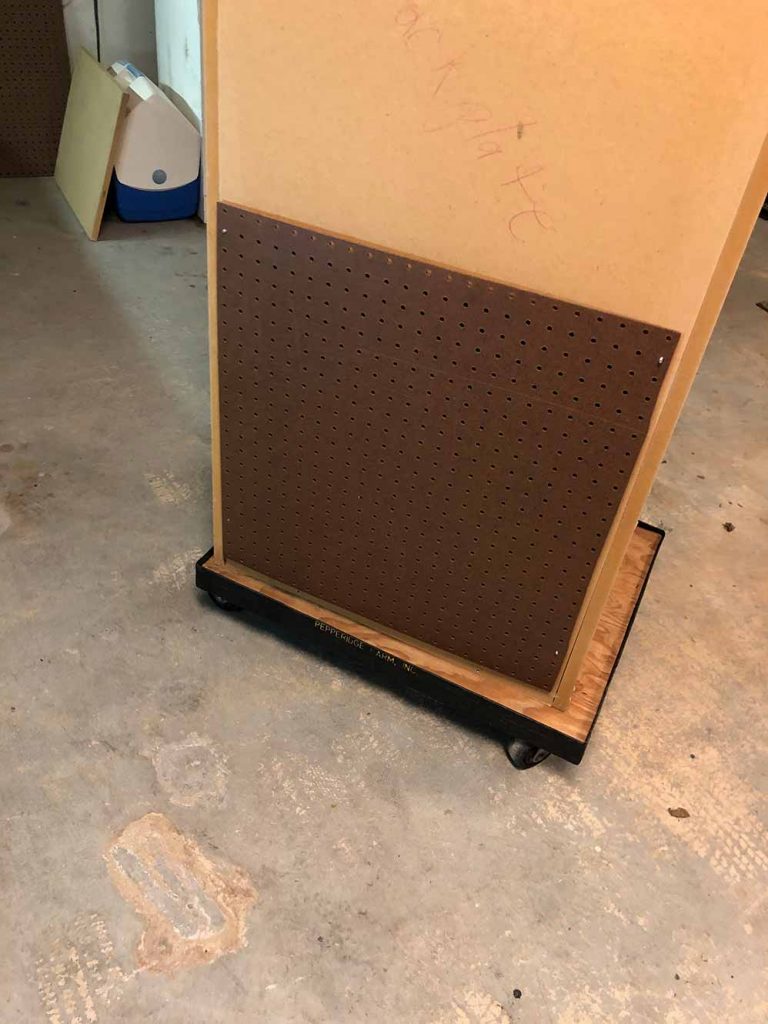

The only regret I have is that I didn’t do this sooner. I follow the r/cade forum on reddit and I saw so many builds I couldn’t stand it anymore. It definitely requires proper planning, especially if you’re new to wood working such as myself. There were some minor hiccups, as with any project, but we made them work. I highly recommend giving it a go. Now I want a wall covered with these cabs all on different games in attract mode!
FAQ
Do you need a powerful PC for an arcade cabinet?
No, not for most classic arcade and retro console emulation. A stable older PC is usually enough. The bigger wins are good cooling, clean wiring, and a setup that boots reliably every time in the garage.